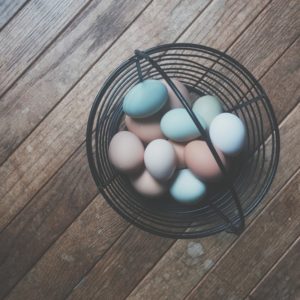
Naturally Dyed Easter Eggs
If you’ve got small people around, you’re most likely going to need to create an Easter egg hunt, hiding eggs around your house (top tip: keep a list of where you’ve hidden them)! We’re all keen to use natural items where possible, so we decided to investigate how to make our own dyed Easter eggs.
You’ll need the following:
- Large saucepan with a capacity of around 3 – 4 litres
- Strainer
- White vinegar
- Salt, and
- Rubber gloves
Each colour needs to be done separately but the process is the same – the final ingredient will change according to the colour you want. You can achieve the various colours with these ingredients:
- Purple using red wine (we’re not saying what you should do with the leftovers)
- Dark blue using blueberries
- Light blue using red cabbage
- Beige using coffee
- Orange using onions
- Yellow using saffron or turmeric
- Green using parsley or spinach, and
- Pink using beetroot
When you’re ready, boil about 1 litre of water together with these items:
- 1 tablespoon of salt,
- 2 tablespoons of vinegar, and
- 2 tablespoons of the respective fruit, vegetable, or spice.
Let this simmer for 30 minutes, then take off the heat. Strain the dye and leave it to cool to room temperature before dipping your eggs. Be sure to let them dry.
For extra fun, you can use masking tape or stickers to mark lines or patterns on the eggs before dipping. Once the eggs are dry, carefully peel the tape away to see your creations!
No doubt your kids will love seeing how everyday items can be used to colour things and may even re/ignite an interest in science!
We’d love to see your creations! Send us your pictures and / or comment below!
Photograph by Autumn Mott


